Sometimes you need a gift for someone special or you are starting a new course and you want a notebook. We know it is not easy to find the right one.
Don’t worry, I will tell you how you can make a marvelous handmade notebook that you can personalize.
Materials:
- We will need a cover for that reason we are going to use a letter cardboard of approximately 176 gr . Choose the color that you prefer.
- 21 letter sheets of white paper, you can use print paper of 75 gr. An aim to open holes.
- A foam to protect the table where you are working
- A ruler
- A pencil
- A needle #16
- Thread/ 1.00mm/ Julius Koch ritza 25
- A pair of scissors
- Stickers, flowers, illustrations, magazine clippings, stamps, markers, pens. These materials are for decorating our notebook at the end.

STEP 1: Separate and Fold
Materials: paper, cover cardboard
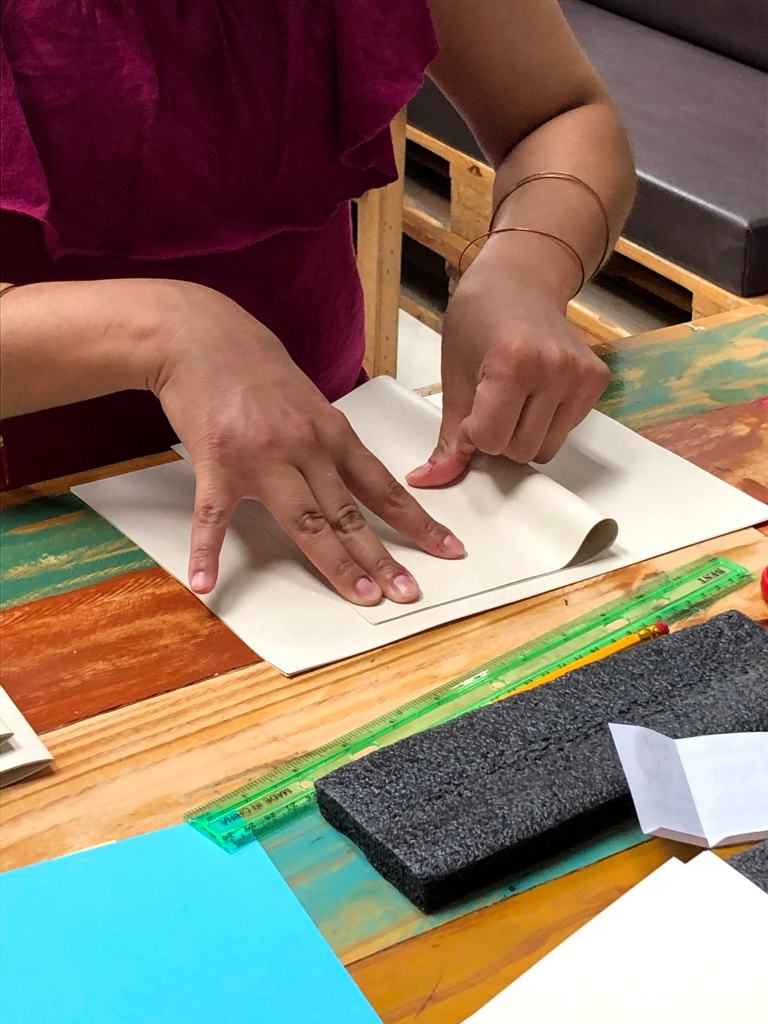
- We are going to separate the 21 sheets into 4 groups, each group will have 5 sheets in it. We are going to use the free sheet as a guide for step 2.
- Now, fold each group of sheets in the middle, you are going to have 4 groups. Fold the free sheet as well and the cover cardboard too.
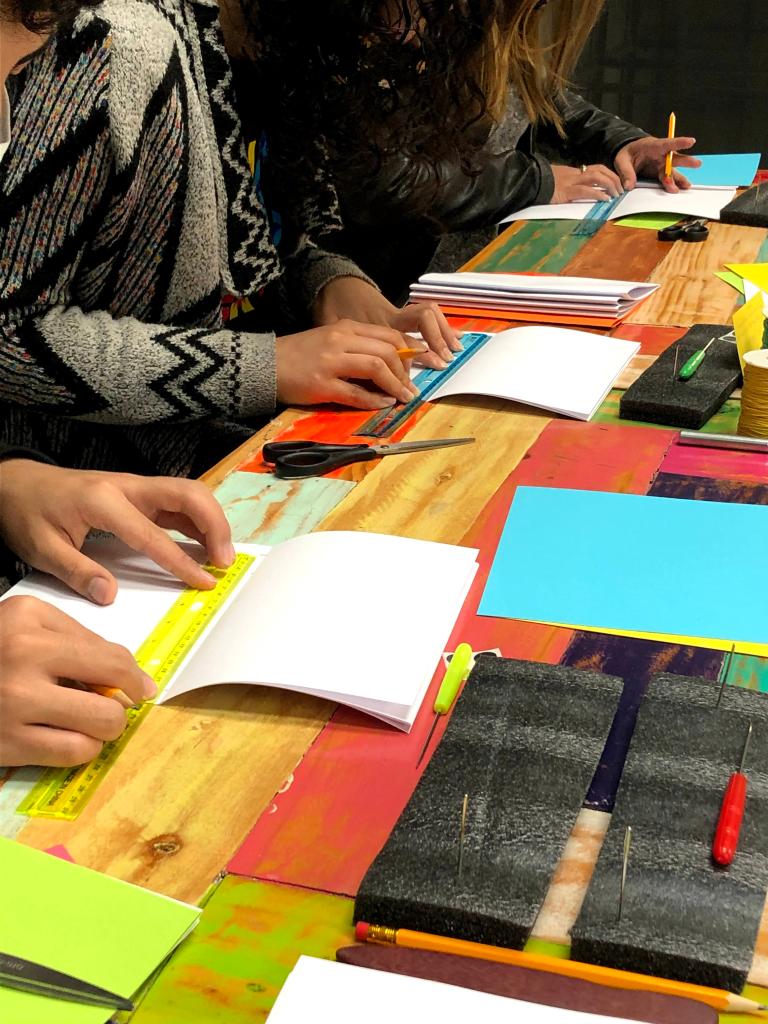
STEP 2: mark the holes
Materials: A ruler, the free sheet and the pencil
- Open the guide sheet in the middle, here we are going to mark with the pencil the holes that we are going to open in step 3.
- If you want the distance between each hole to be symmetrical. Measure the total distance of the paper from the left to the right edge. (If it is a letter sheet it measures approximately 22 cm).
- Example: If you want your notebook to have 6 holes you must divide 22 cm by 6 Result: 3.6 cm.
- It means that every 3.6 cm you are going to make a hole in the middle of the paper.
- If you don’t want to have a symmetrical seam, you can put the marks you want in the center of the paper. Do not make more than 10 holes or less than 3.
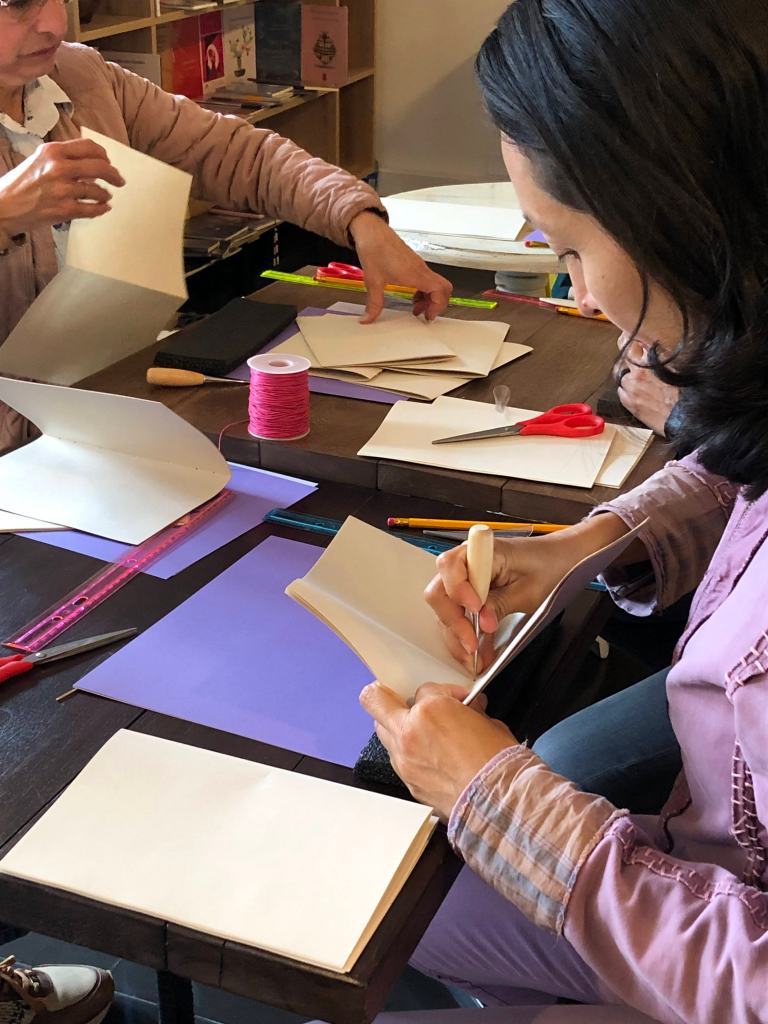
STEP 3: open the holes
Materials: aim, the foam, guide sheet, 4 groups of sheets, the cover.
- Take the guide sheet, put on top the first group of sheets and align all the sheets close together.
- Put the foam on the table. On top of it the group of sheets with the guide sheet and start to make holes with the aim in the points that you mark before.
- Repeat this process with all the groups of sheets, after that open the holes to the cover.
- Align the 4 groups and the cover at the end.
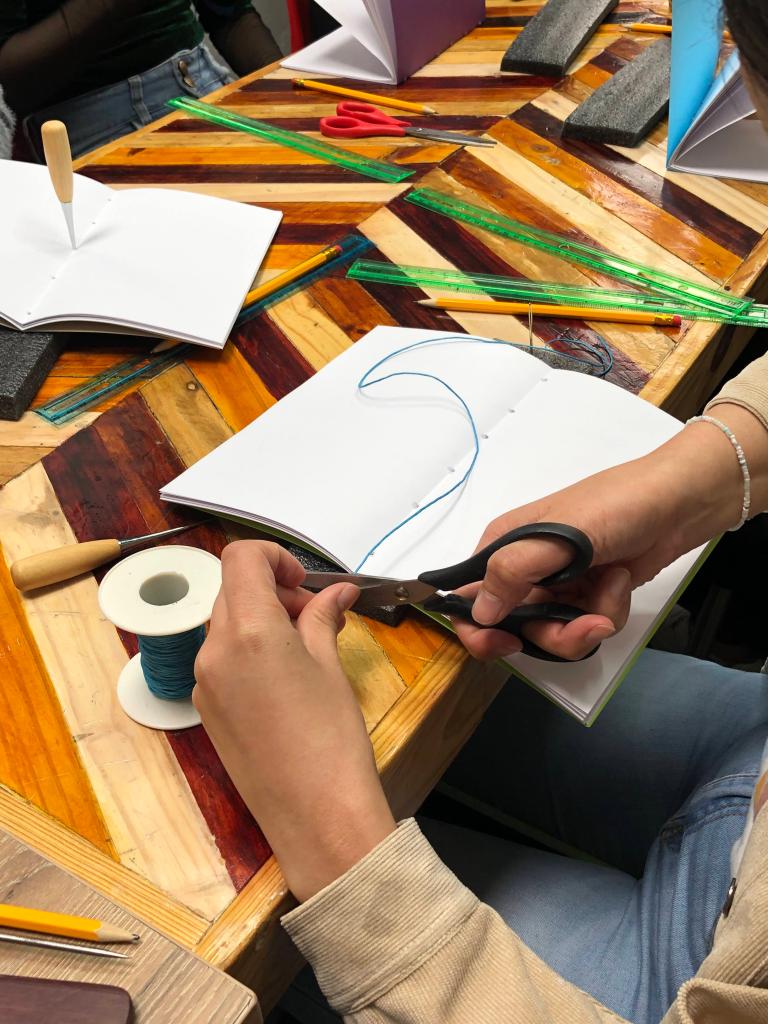
STEP 4: Let’s sew
Materials: A needle, a thread, scissors and the 4 groups and cover align.
- Measure the thread: take the thread and measure it with the paper from the left to the right twice, and then cut it.
- Thread the needle with the thread
- Take the 4 groups and cover. Start sew from the inside of the paper. Start from the hole below. Pull the thread and leave a small piece of thread to attach at the end.
- Go to the second hole from outside to inside. After the third and fourth holes continue the movement that the thread guides you.
- When you arrive at the top. Go back until the penultimate hole. When you arrive at it, take out the needle and tie a knot with the thread that you left at the beginning.
Step 5: Decorate!
- Now your mission is to decorate your notebook. Be creative, do not feel afraid of doing something new or crazy. Enjoy and share your new knowledge with others.
Here I will give you some examples of some friends that made this notebook with these steps.


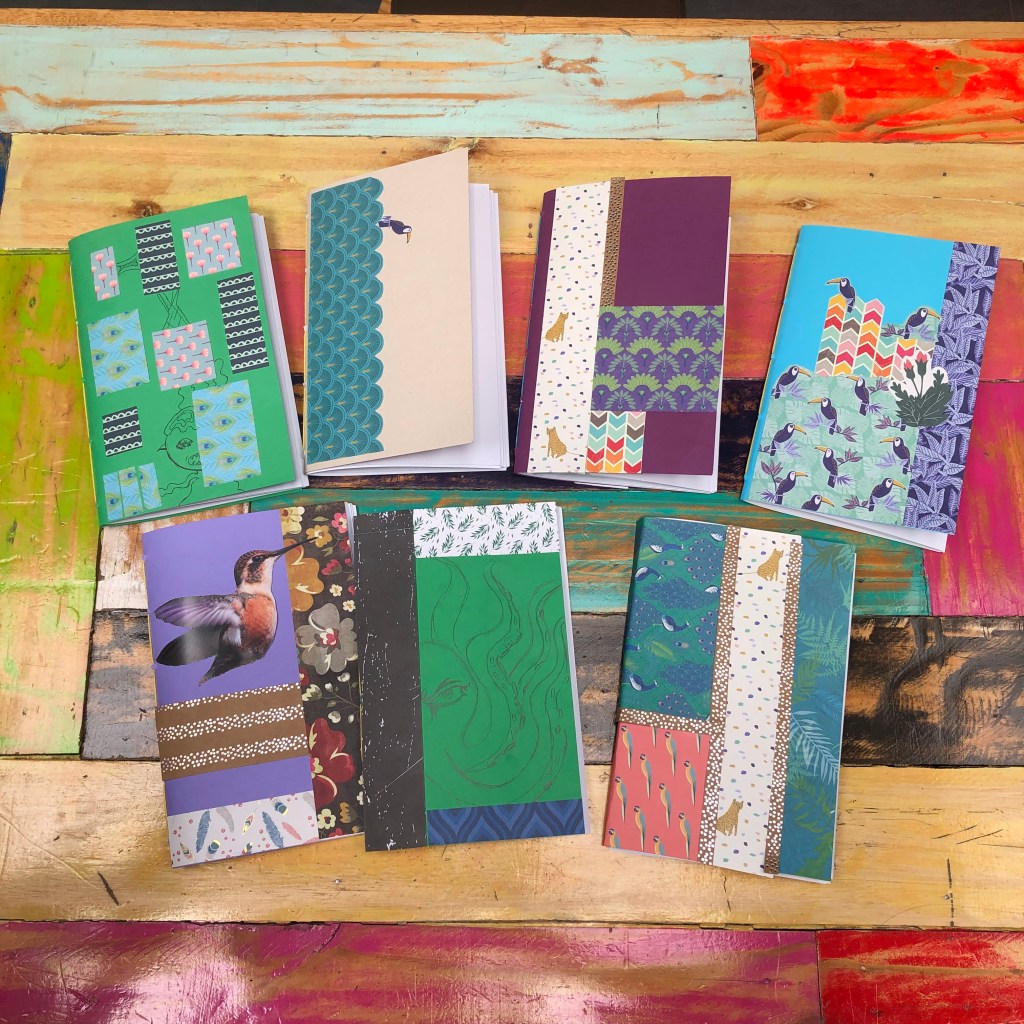

Share with us your creations!!

Leave a comment