Step 1: Planning
Before you start animating, it’s essential to plan your animation. Decide on the following:
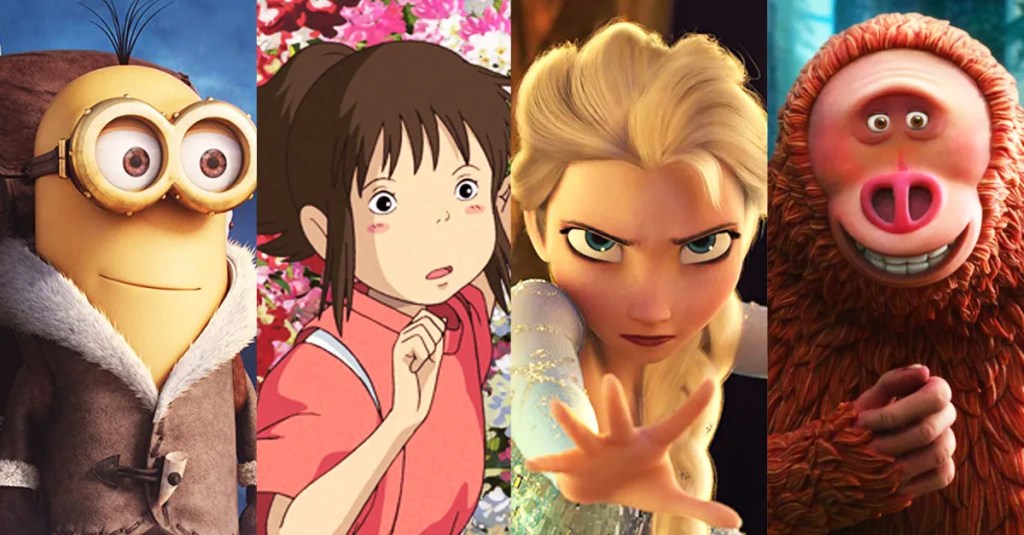
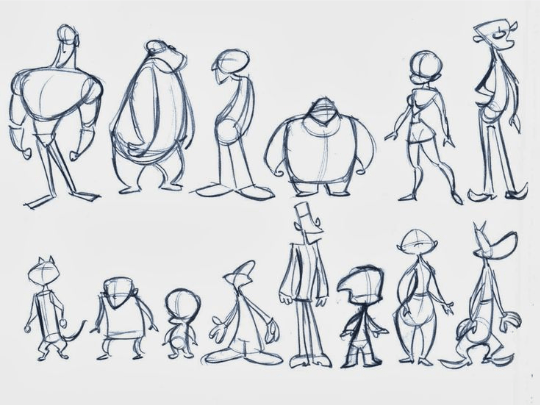
- The style and look of your character.
- The style and personality of the character are very important since this can influence the way your character walks.
- For example: If your character is very strong and happy, he will walk in a different way than if he is very thin and sad.
- The speed and style of walking (e.g., casual, fast, tiptoeing).
- As in the previous point, the speed and style of how you walk should be very evident and important when creating your animation.
- The number of frames or steps in your animation (e.g., 4, 8, 12, or more).
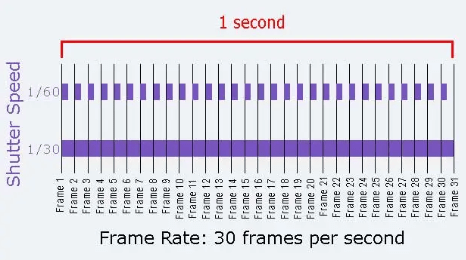
- The frames are the number of frames (drawings) there are in a second, the more frames there are, the more natural the animation will be.

Step 2: Prepare Your Tools
You’ll need animation software for this task. Some popular options include Adobe Animate, Toon Boom Harmony, or even free software like Pencil2D.
Step 3: Create Keyframes
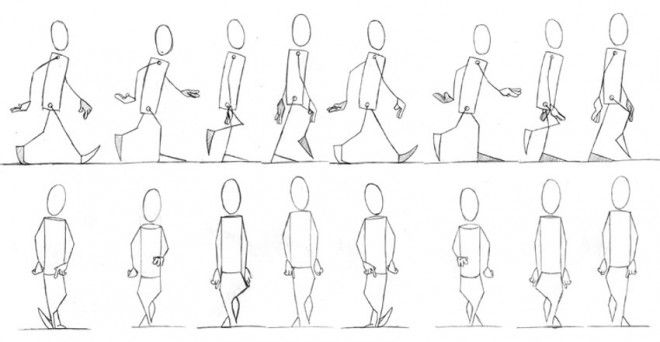
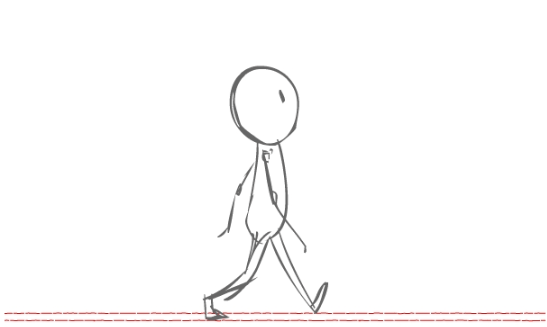
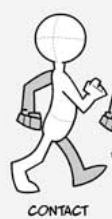
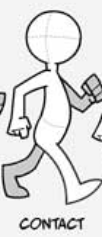
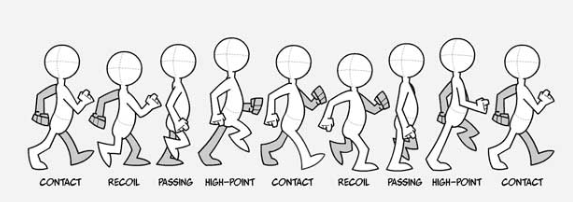
Keyframes are the essential poses that define the motion. For a simple walk cycle, you typically need at least two keyframes: one for each leg’s forward position. Here’s a basic breakdown:
Keyframe 1: Start with the left leg forward and the right leg back. Draw your stick figure in this position.


Keyframe 2: Move to the next frame. Now, draw your stick figure with the right leg forward and the left leg back.
Step 4: Add Intermediary Frames (Inbetweens)
To make the animation smoother, add intermediary frames between your keyframes. These frames will bridge the gap between the two poses. You can add as many inbetweens as you want, but let’s start with one.
-Keyframe 1 (left leg forward)
- Inbetween 1 (a frame where the legs are closer to being equal)
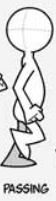
-Keyframe 2 (right leg forward)
Step 5: Complete the Walk Cycle
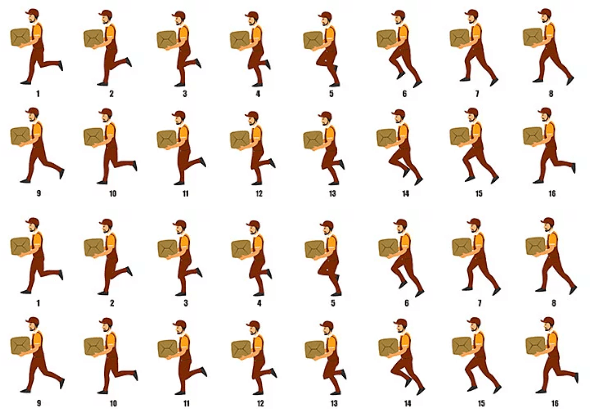
Continue adding more keyframes and inbetweens to complete a full walk cycle. Typically, a simple walk cycle will have 4 keyframes (left leg forward, midpoint, right leg forward, midpoint) and additional inbetween frames to smooth the motion.
Step 6: Refine Your Animation
Review your animation, and make any necessary adjustments. Ensure that the motion looks smooth and natural. You may need to tweak the position of the arms, body, and head to make it look more realistic.
Step 7: Loop the Animation
Once you have your complete walk cycle, make sure it loops seamlessly. The first and last frames should match, so when the animation plays in a loop, it looks continuous.
Step 8: Timing and Speed
Adjust the timing of each frame to control the speed of the walk. Frames with larger movements between them will create a faster walk, while frames with smaller differences will create a slower walk.
Step 9: Add Details

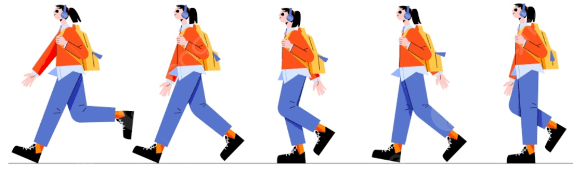
If you want to add more realism, you can start adding details like clothing, facial expressions, and background elements.
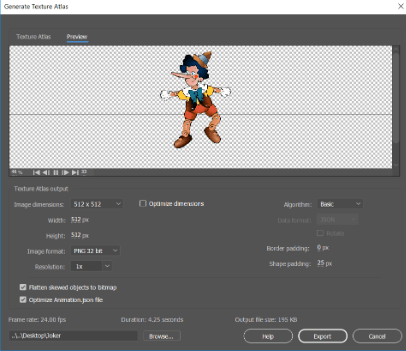
Step 10: Export Your Animation
Once you’re satisfied with your animation, export it as a video or GIF, depending on your software’s capabilities and your intended use.
Remember that creating realistic walking animations can be quite challenging, and it often requires practice and a good understanding of anatomy and movement. Start with a simple stick figure walk cycle, and as you gain experience, you can move on to more complex character animations.