Nowadays on internet we can find a lot of information sources that impact the way we learn, consume and share. It is really important to detect the differences between good and bad writing because that gives us the quality of information that we are consuming.
Let’s see some examples of good and bad writing blogs I found.
1st GOOD WRITING EXAMPLE
Website: Aquarium Coop
This website sells aquarium products but not only that, they give advice on common problems when you have your own aquarium. They also teach in their blog how to prevent mistakes and how with their products you can create the perfect aquarium.
Come to know this amazing Blog
How do I know this is a good blog?
- It use lists when they have a lot of advices
- Use properly and easy language for their costumers
- The information is clear
- Use of images that explain the topics they are presenting in the blog.
They really care about their clients and how do they can learn and improve the fish life and its environment.
2nd GOOD WRITING EXAMPLE

Website: The whole dancer
This website is specialized in dancers but not only that, they give advice on common dancer problems, most of them related to nutrition, lifestyle and body acceptance, really important topics in dance world.
Come to know this amazing Blog
How do I know this is a good blog?
- Uses appropriate language for its readers, most of whom are dancers.
- The information is clear.
- It is a blog interesting to read.
- Important topics are highlighted with larger font size.
- Deals with topics of interest for dancers.
- If you want to compliment the information gives you some links to amply them.
One of the most important thing about this Blog is that the owner is a dancer, so she has the knowledge and experience to face dancer issues that sometimes are not easy to talk or expose.
3rd GOOD WRITING EXAMPLE

Website: Paper craft panda
This website is specialized in bookbinding, they give advice on common bookbinding issues, experiences and materials, they also sale workshops and guide you in the process of becoming a bookbinder.
Come to know this amazing Blog
How do I know this is a good blog?
- This blog answer common questions and doubts about topics that every bookbinder has to deal.
- Use properly and easy language for their costumers
- The information is clear
- Use videos for people who prefer a visual explanation.
- Make lists of important details
In this blog and website you feel understood because the owner share their experiences and advices, with her expertise and her work you probably apply every advice that she gives you.
BAD WRITING EXAMPLE
Now we are going to see a bad writing example blog. Searching online I noticed that recipes blogs tend to be really long and boring. When you want to captivate the attention you have to use images and alternate with text, videos or illustrations. But this is not the case of our Bad writing example blog.
How do I know this is bad blog?
- It is too long to read so it is boring.
- It has a lot of information that is not relevant or interesting.
- The blog has not typography changes during the text, that makes it harder to read.
A RITUAL TO FEED EACH OTHER
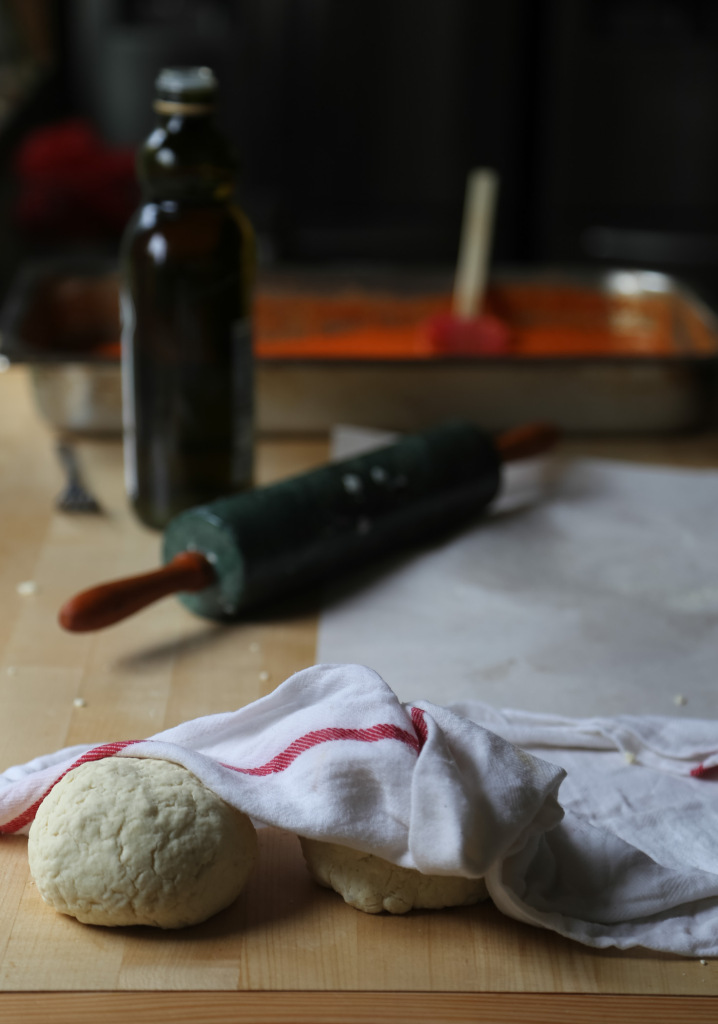
We’ve been playing with pizza dough for years. Sometimes, it seems, I like nothing more in the world than researching ratios on baking recipes. However, since we instituted the Friday night pizza ritual in our home, we’ve settled on our recipe. I’m done playing with this one. We haven’t changed our recipe in over a year. We have our dough.
What do you need for your pizza?
- 3/4 teaspoon active dry yeast
- 1 teaspoon sugar (or honey)
- 225 grams (about one cup) warm water (about 110°)
- 300 grams (about 2 1/4 cups) gluten-free girl all-purpose flour blend
- 6 grams (1 1/2 teaspoons) psyllium husk
- 8 grams (1 teaspoon) sea salt
- 1 teaspoon olive oil
Proof the yeast. Whisk together the yeast, sugar, and warm water, gently, in a small bowl. Let the yeasty water sit for at least 15 minutes. If the water is blooming with small bubbles and starting to smell yeasty, you have active yeast.
Make the dough. Combine the two flours, the psyllium, and the salt in the bowl of a stand mixer with the paddle attachment. Whirl them up.
With the mixer running on low, pour in the oil, then the yeasty water, very slowly. The dough will feel soft and pliable but softer and wetter than a typical gluten dough. (Try to mimic the texture of a creamy porridge.) Turn the mixer onto medium and let it run for a few more moments. Turn off the mixer and scrape down the sides of the bowl with a rubber spatula.
Let the dough rise. Cover the bowl with plastic wrap and let it sit in a warm place for 1 hour. Then, put the dough in the refrigerator and let it sit overnight.
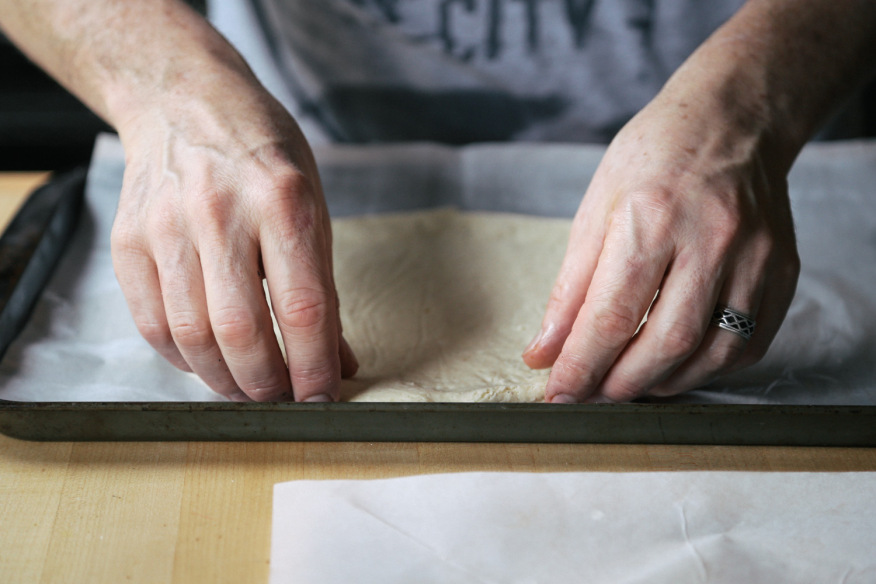
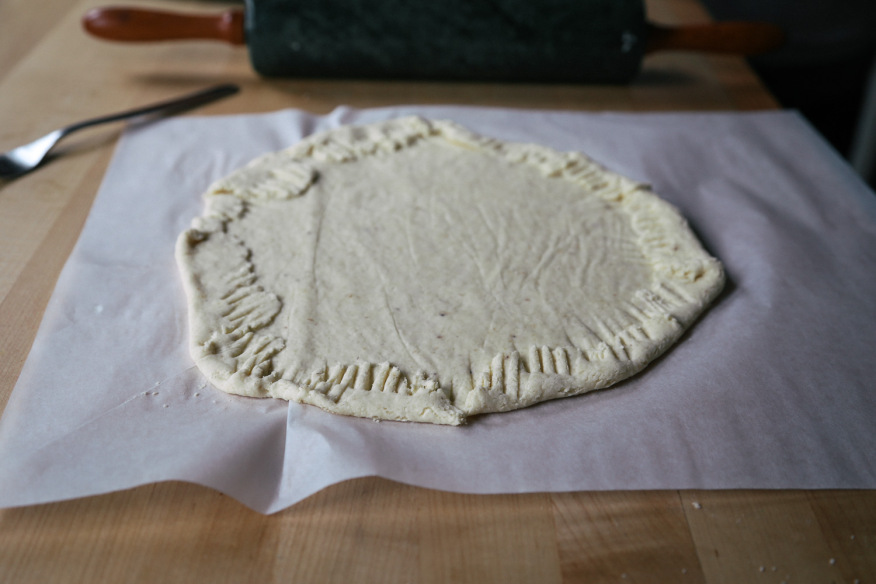
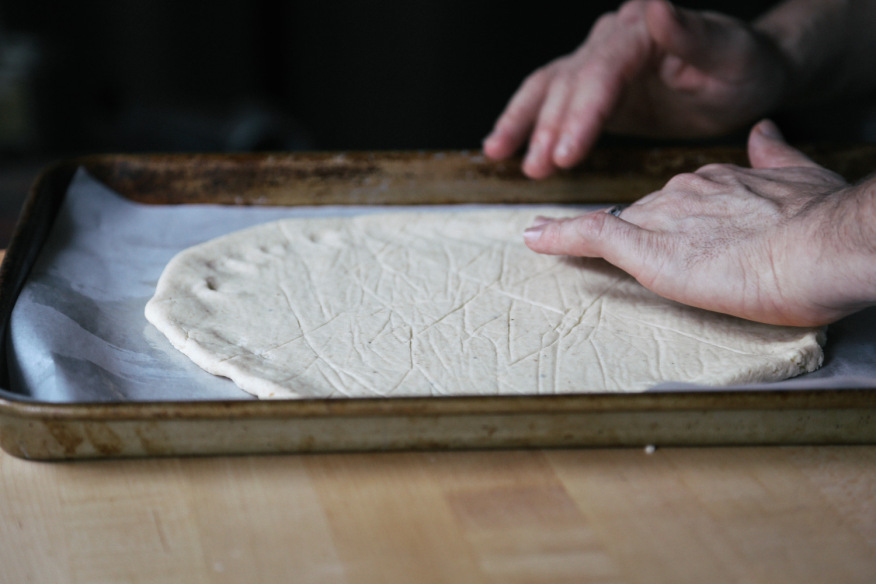
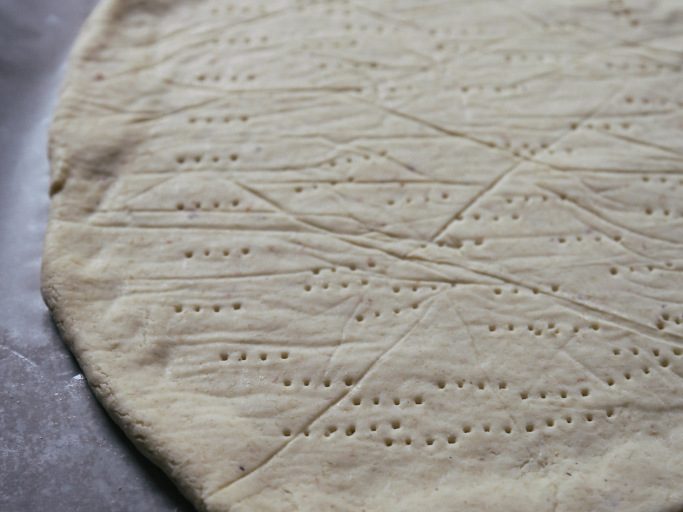
Prepare to bake. The next day, pull the dough out of the refrigerator 1 hour before you intend to roll it. Divide the dough into 2 balls. Put one dough ball between 2 lightly greased pieces of parchment paper. Roll out the dough until it is about 12 inches across. Take the top piece of parchment paper off the dough. Curl up the edges of the dough, about 1/2 inch to 1 inch, all the way around the circle. Take a fork and gently crimp those edges onto the dough to seal them. Put the parchment paper back onto the dough. Put one hand under the bottom parchment paper, the other on top, and flip the dough. With slightly wet fingertips, make little indentations around the edges of the dough. Dock the pizza by making fork marks over the dough evenly. Transfer the dough to a baking sheet. Gently lift the edges of the dough to make sure no part of it is sticking to the parchment paper.
Repeat with the remaining dough ball.
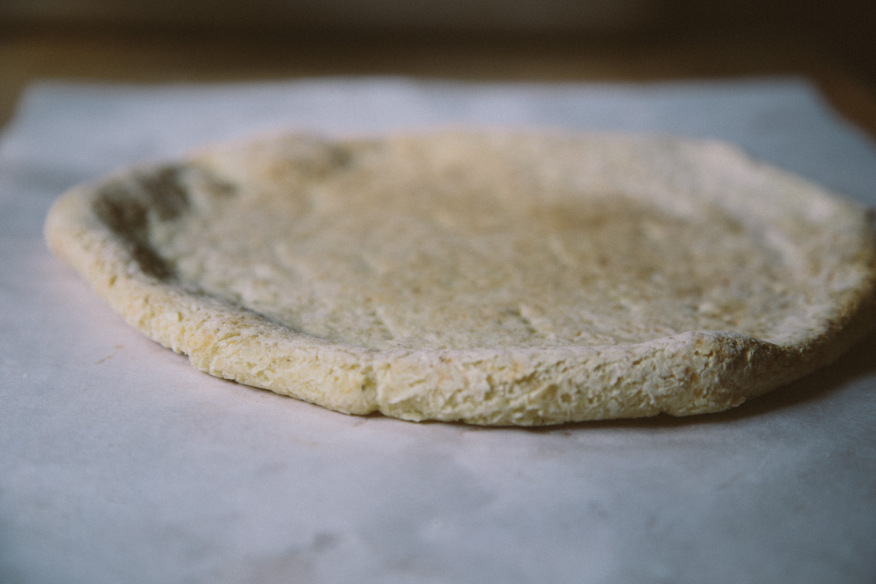
Pre-bake the pizza dough. Heat the oven to 450°. Put the baking sheets in the oven—one on the lower rack and one in the middle. Bake until the tops of the doughs and the edges feel set, about 20 minutes. This will steam the water out of the doughs and give you a great dough for baking. Take the pizza doughs out of the oven.
Heat the oven higher. Bump up the temperature of the oven to as high as your oven will go. (Ours stops at 550°.) If you have a baking stone in the oven, that will generate even more heat in the oven.
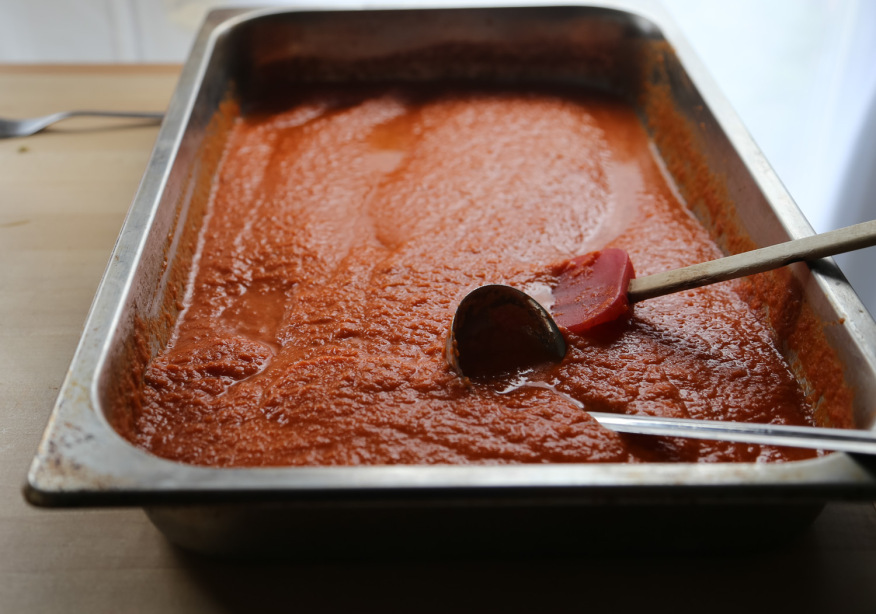
Top the pizza. Top the pizza crusts with a drizzle of oil and any toppings you wish. This pizza was simply olive oil, tomato sauce, Parmesan cheese, sliced red peppers, and pepperoni.
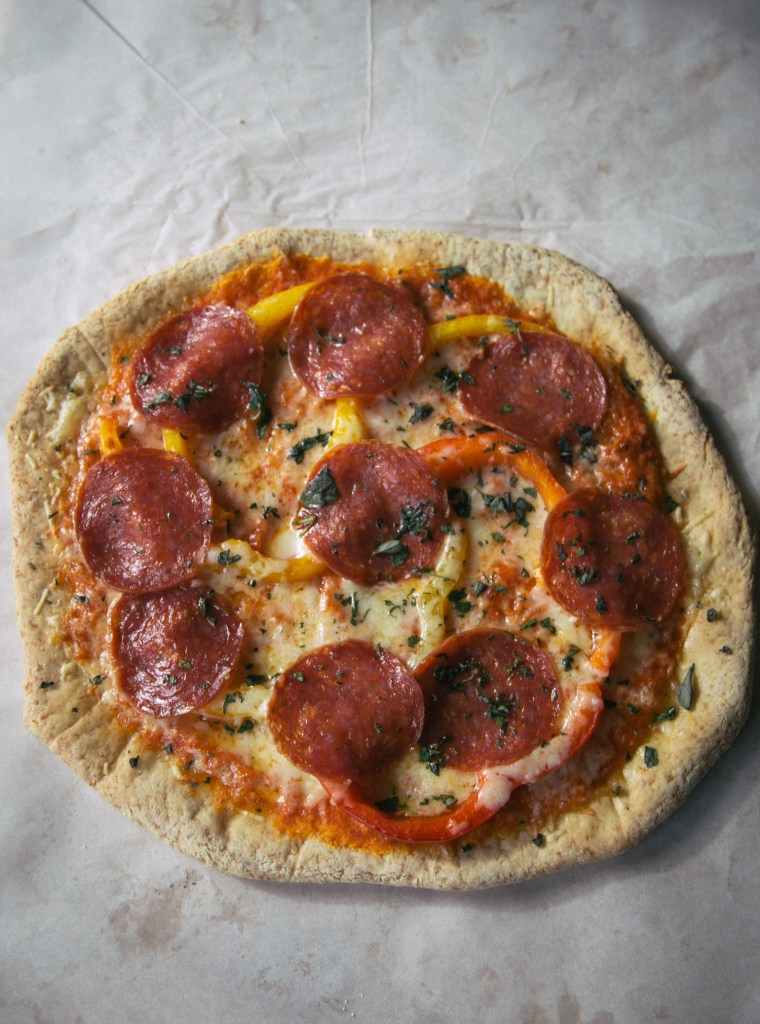
Finish baking the pizza. Put the pizza in the oven when it’s truly hot, then watch it. Wait until the cheese bubbles, then turn on the broiler at the end. Watch it closely. Don’t let it burn. But get it to just before that point.
Voila! Pizza

Leave a comment